of a page of blabber, it will be more how-to and blabber. So you won't be missing out on it. The blabber I mean.
On Saturday, there is going to be a small CoderDojo party in the original dojos (I'll have a Style Saturday on that) and I decided that I would like to make some bunting, not only for that but just in general. Now, my sister and my mum found some wallpaper in Laura Ashleys for €1 each! So casually I bought 9 rolls, how very like me. These rolls of wallpapers would make amazing DIY decor pieces, which I might kindly post here, when I make them. Anyway, on to the DIY.
What You Will Need:

- Paper/Wallpaper
- Ribbon/s
- Scissor/s (I used 1 with a scalloped detail, 1 normal)
- Rulers or Set Squares
- Rubber and Pencil
- Template Triangle (A4 paper)
Instructions:
1. I drew out my template. To do this, I folded an A4 sheet of paper in half (the longest side) and cut it. I measured the half-way point between the shortest side on the new sheet. Join the points on the other side to the half-way point to form a triangle. Cut this triangle out.
2. Use the template to draw the triangles for the bunting. Make sure to leave space between the triangles if you are using a 'fancy' edged scissors. Draw the triangle side on the 'wrong' side, the side you don't want to show. Like so.

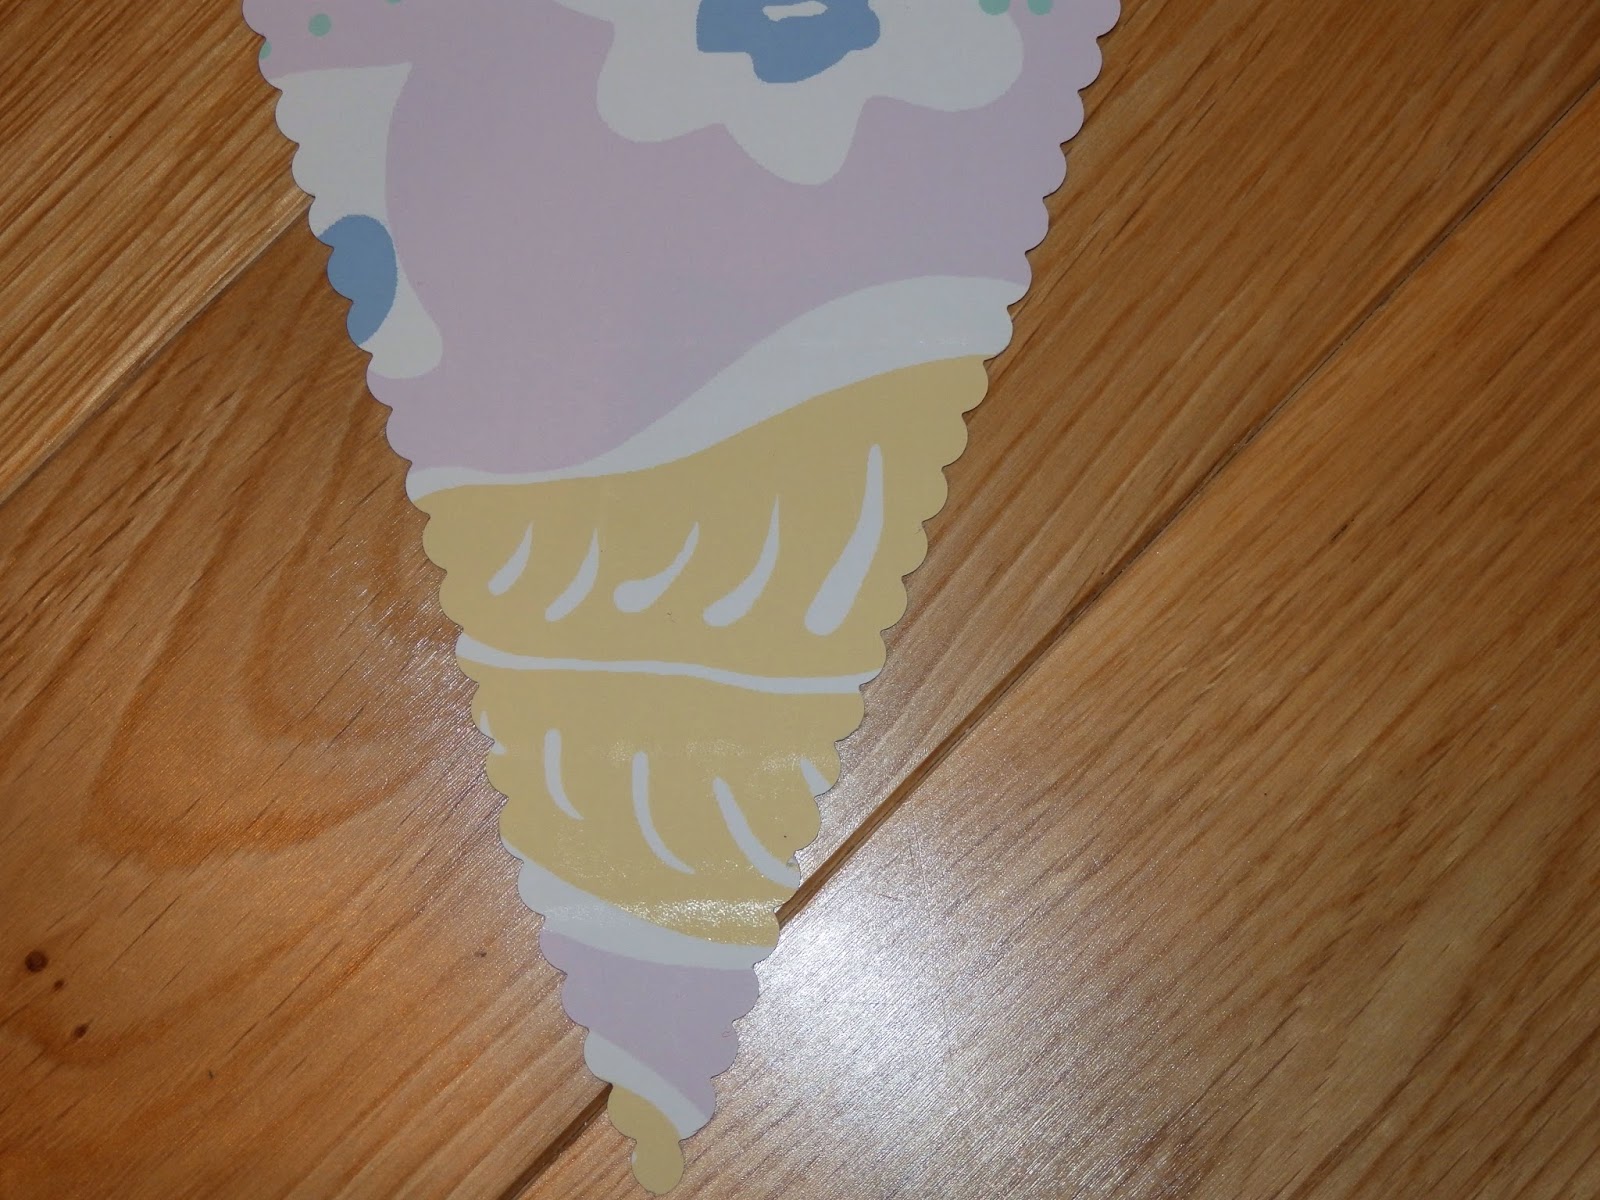
3. Cut out this triangles with either a straight scissors or 'fancy' scissors, like I did. I wanted to make scalloped edged bunting so I used this cute scissors


4. After you cut out the triangles, arrange them out onto your ribbon. I fit 3 triangles evenly on my ribbon. Glue the ribbon onto the triangles using PVA glue and hang.
It gets pretty easy when you get into the swing of things, but it looks gorgeous at the end. This bunting would be perfect for parties, weddings, on stands at fairs and even in your bedroom. I hope you enjoy this DIY and maybe use it! Nee x
No comments:
Post a Comment